11 Crops to Grow To Survive Difficult Times!
I was passed this youtube video from Health And Homestead by a facebook Isher. Many are looking to gardening to help with the cost of living crisis, we will try to provide a few ideas to […]
I was passed this youtube video from Health And Homestead by a facebook Isher. Many are looking to gardening to help with the cost of living crisis, we will try to provide a few ideas to […]
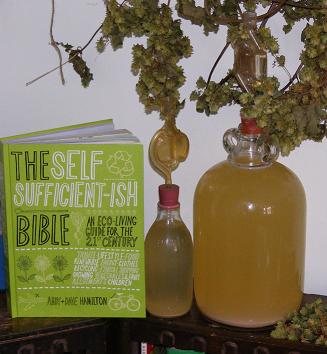
The sun’s out, so we venture into the garden for the first time in weeks. My Mediterranean herbs did overwinter (yay!). Our long, cold, wet winters up here in the bog are anathema to these herbs […]
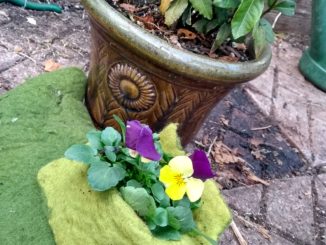
FORGET neatly trimmed hedges, tidy rows of begonias and well-tended lawns. An increasing number of 21st century growers in Scotland claim it’s time… Source: Return of the Good Life: the new craze for front garden […]
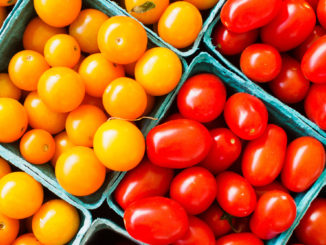
How to Harvest Your Own Seeds from Fruit and Vegetables for Propagation into Nursery Source: How to Harvest Your Own Seeds from Fruit and Vegetables for Propagation into Nursery – The Permaculture Research Institute
The other day my other half broke a tooth. As it was on a piece of my sourdough garlic baguette I felt duty bound to accompany him to our dentist (100 miles down the road). […]
The situation created by the British vote to leave the European Union is momentous for UK food. It is on a par with the Repeal of the Corn Laws of 1846 when Britain decided its […]

Food barely featured in the referendum, but years of jibes about Eurocrats controlling our food standards, and myths about bent bananas, left their mark. Food politics will now come to the fore in ways most […]

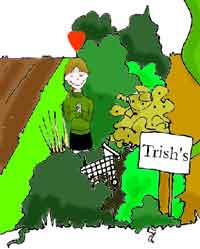
The most effective change-makers in our society aren’t waiting around for a new president to make their lives better, they’re planting seeds, quite literally, and through the revolutionary act of gardening, they’re rebuilding their communities […]
Copyright © 2024 | MH Magazine WordPress Theme by MH Themes